
Trace a W220 Suspension Squeak Without Guessing at Parts
Match a Mercedes W220 suspension squeak to steering, body movement or ride-height changes, then inspect the right joints without masking wear.
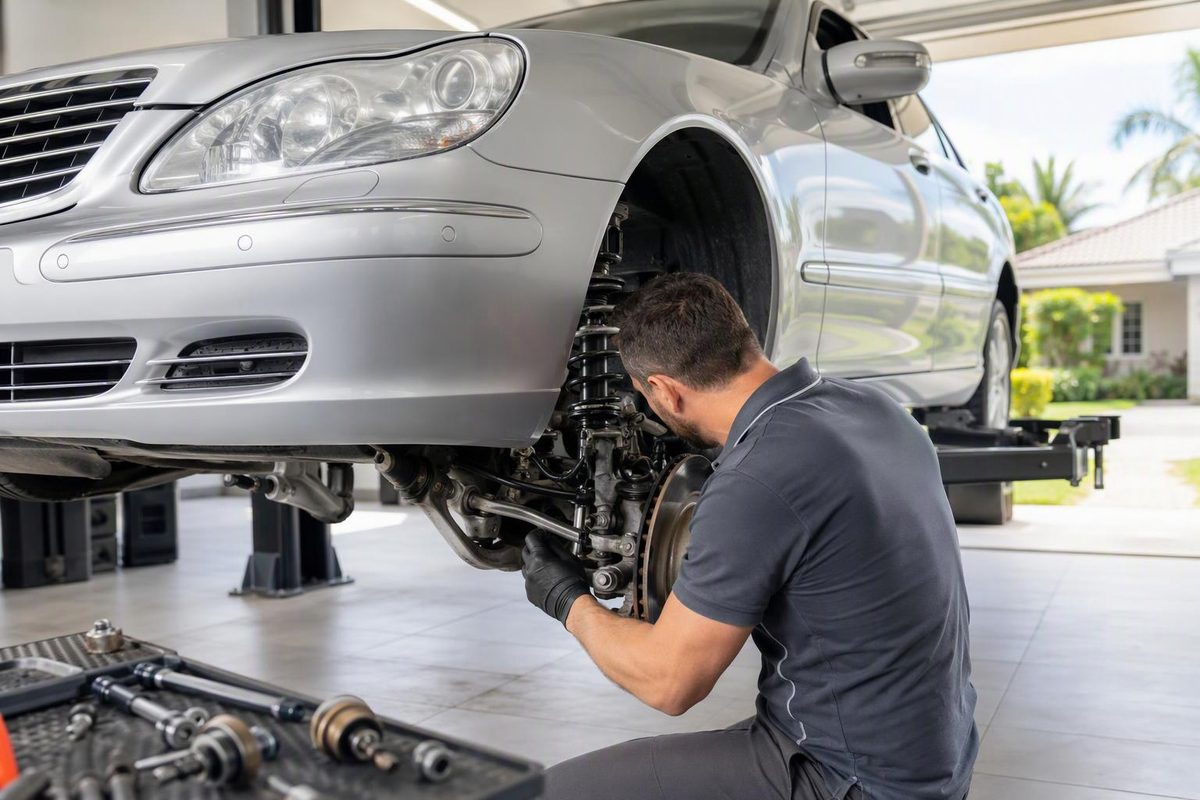
A suspension squeak on a Mercedes W220 most often warrants inspection of a dry or worn joint, boot or rubber-mounted arm, but the sound alone cannot identify the failed part. Reproduce the noise, establish which movement causes it, then inspect that corner under the correct load before ordering parts.
Choose the safety symptom and movement that reproduce the squeak; the first inspection target appears beside them.
W220 Squeak Inspection Selector
Check wheel position, steering, ride height, visible play, leaks and warnings.
Check Safety Before Driving
Inspect for wheel lean, altered steering, visible joint movement, unsafe clearance, hydraulic leakage and suspension warnings.
After that: If no safety symptom is present, steering-related squeaks put the front supporting/lower ball joint, upper control-arm joint, torque-strut joint and tie-rod end first on the inspection list.
Sources: 2004 S-Class Operator’s Manual, W220 front-axle reference, UK MOT suspension inspection method and Mercedes-Benz StarTuned ABC guidance.
Record the model year, exact variant, 4MATIC status and whether the car has AIRMATIC or hydraulic Active Body Control (ABC). Confirm the suspension system from the VIN data card rather than assuming from the model badge because parts and procedures differ.
Stop Driving When the Squeak Has a Safety Symptom
Do not continue normal driving if the squeak is accompanied by:
- visible wheel lean or a sudden ride-height change
- looseness, wandering or unpredictable steering
- a heavy clunk followed by altered handling
- a joint or control arm that visibly shifts when loaded
- a torn joint boot with obvious play
- an active hydraulic leak on an ABC car
- an AIRMATIC or ABC STOP, CAR TOO LOW! message
Severe ball-joint wear can allow the stud to separate from its housing, creating an immediate risk of losing control (MOOG ball-joint safety guidance). Tow the car when wheel position, clearance or directional control is in doubt.
For a car displaying STOP, CAR TOO LOW!, follow the operator’s manual for its year. The 2004 W220 manual says to stop, select the raised level and avoid excessive steering angle. If the car rises and there is no scraping, it permits no more than 50 mph while seeking service. Those conditions do not permit driving with tire-to-body contact or an obviously displaced wheel (2004 S-Class Operator’s Manual).
Match the Squeak to the Movement That Produces It
Use a quiet location and reproduce the sound without crawling beneath a running or unsupported car. Repeat only the test that reliably produces it.
| When It Squeaks | Inspect First | Other Possibilities |
|---|---|---|
| Steering turned while stationary | Front supporting/lower ball joint, upper control-arm joint, torque-strut joint, tie-rod end | Steering linkage or hydraulic steering noise |
| One corner pushed down at rest | Ball joints, control-arm bushes, strut-to-arm joint | Strut mount, anti-roll-bar bush or link |
| Both wheels cross a speed bump | Control-arm bushes or strut attachments | Body, undertray or exhaust contact |
| One wheel crosses an angled driveway | Anti-roll-bar links and bushes | Individual arm joints |
| Braking or releasing the brake slowly | Torque-strut bushing or joint, lower-arm bushes | Brake pad or caliper movement |
| Body raises or lowers | Joint moving through a particular angle | AIRMATIC or ABC strut attachment or system fault |
| Rear squeaks as occupants enter or leave | Rear links, bushes and strut attachments | Parking-brake cable, exhaust or body contact |
A description such as “front right while steering at a standstill” is more useful than “squeaks over bumps.” A phone recording made from a safe position outside the car may reveal whether the sound follows steering movement, body movement or both.
A squeak while steering at a standstill shifts attention toward joints articulated by steering movement. A squeak when the body is pushed down shifts attention toward load-bearing joints, bushes and strut attachments. Noise on a one-wheel ramp test puts more twist into the anti-roll bar than a bump crossed by both wheels, making its links and bushes stronger suspects.
These distinctions narrow the inspection. They do not prove that a named component has failed.
Inspect the Front Joints in a Useful Order
The W220 front axle includes a supporting joint at the steering knuckle, a spring or lower control arm, a torque strut, an upper control arm and stabilizer links. A compiled W220 front-axle reference calls for inspecting joint boots for cracks or leakage and checking the supporting and upper joints for play. With a joint removed, its pin should move without play, binding or creaking (W220 front-axle reference).
Start with the noisy side, but compare it with the quiet side.
- Inspect the boots in bright light. Look for splits, displaced retaining rings, escaped grease, rust staining or dirt entering around the stud. A damaged boot is evidence of a problem; a clean-looking boot does not prove that the joint is sound.
- Inspect the torque-strut and control-arm bushes. Look for separated rubber, deep cracks, off-center sleeves or signs that an arm has contacted its bracket.
- Check links and attachments. Inspect stabilizer-link boots, strut fasteners, level-sensor links and any undertray or brake hose that could rub as the suspension moves.
- Test for play under the correct load. Suspension geometry determines where the car must be supported to unload a particular joint. Spring force can conceal looseness when the joint is tested in the wrong position. Professional inspection guidance notes that some suspensions must be jacked in more than one position to remove force from the ball joints (UK MOT suspension inspection method).
- Localize the noise safely. On a drive-on lift, a technician can have an assistant articulate the steering or suspension while observing from a safe position. Attach chassis-ear sensors while the vehicle is stationary, then monitor them during a controlled test. Never reach near a moving joint or powered suspension.
Never work beneath a car held only by a jack. Air and hydraulic suspension contain stored energy, so use the vehicle-specific lifting and depressurization procedures.
AIRMATIC or ABC May Not Be the Source
AIRMATIC and ABC change how the W220 body is supported, but both versions retain mechanical joints and bushes. A squeak synchronized with a ride-height change may come from a worn joint passing through its noisy range rather than from the spring or strut itself.
Look for separate evidence before diagnosing the suspension system:
- AIRMATIC: one corner sinks, compressor operation becomes frequent, escaping air can be heard or a suspension warning appears.
- ABC: hydraulic fluid is visible, one corner drops unusually quickly, hydraulic noise changes with engine speed or an ABC warning appears.
ABC is not an air-suspension system. Mercedes-Benz’s StarTuned technical publication describes it as a high-pressure hydraulic system. For a sinking corner, it distinguishes an external line or strut leak, verified by visual inspection, from internal leak-down at a valve assembly (StarTuned ABC technical article).
A mechanical squeak without leakage, abnormal height loss, warnings or hydraulic noise is not enough evidence to condemn an expensive strut. Conversely, visible hydraulic leakage or a body that will not maintain safe clearance requires system diagnosis rather than continued noise testing.
Lubricant Cannot Restore a Worn Joint
Do not pierce a sealed ball-joint boot or drill its housing to inject grease. Doing so compromises the seal and may temporarily silence the joint without restoring its load capacity.
In one W220 owner report, a drilled and greased lower ball joint became quiet, but the noise returned after about 2,300 miles. That is community experience, not a validated repair procedure (MBWorld W220 discussion).
Indiscriminately spraying bushes can also hide the source and contaminate components. If a brief diagnostic application is appropriate for a particular rubber part, use only a material confirmed to be compatible with it. Silence after spraying does not establish that the part is structurally sound.
A damaged boot, measurable play, binding, visible bushing separation or a repeatable noise localized to one joint is stronger evidence than a temporary change after applying lubricant.
Tighten Rubber-Mounted Arms at Ride Height
Replace the component that fails inspection rather than buying an entire front-end kit based on the sound. Inspect the corresponding component on the opposite side, but replace parts in pairs only where Mercedes specifies it or the condition of both sides justifies it.
After control-arm work, follow the vehicle-specific tightening sequence. The W220 front-axle reference specifies final tightening of several rubber-mounted arms with the suspension in its ready-to-drive position. This prevents the bonded rubber from being locked at full droop (W220 front-axle installation notes).
Use new self-locking hardware where specified. Obtain torque and angle values for the exact VIN rather than applying a value from another W220 variant, and check alignment when the repair can alter suspension geometry.
The diagnosis is complete only when the physical fault matches the repeatable noise: the same corner, the same movement and inspection evidence from the joint, bush or attachment being replaced.