
W220 AIRMATIC Compressor: Buy the Right Assembly and Replace Its Relay
Choose a compatible W220 AIRMATIC compressor, compare kit contents, and plan replacement with the correct relay, air-line fitting and leak checks.
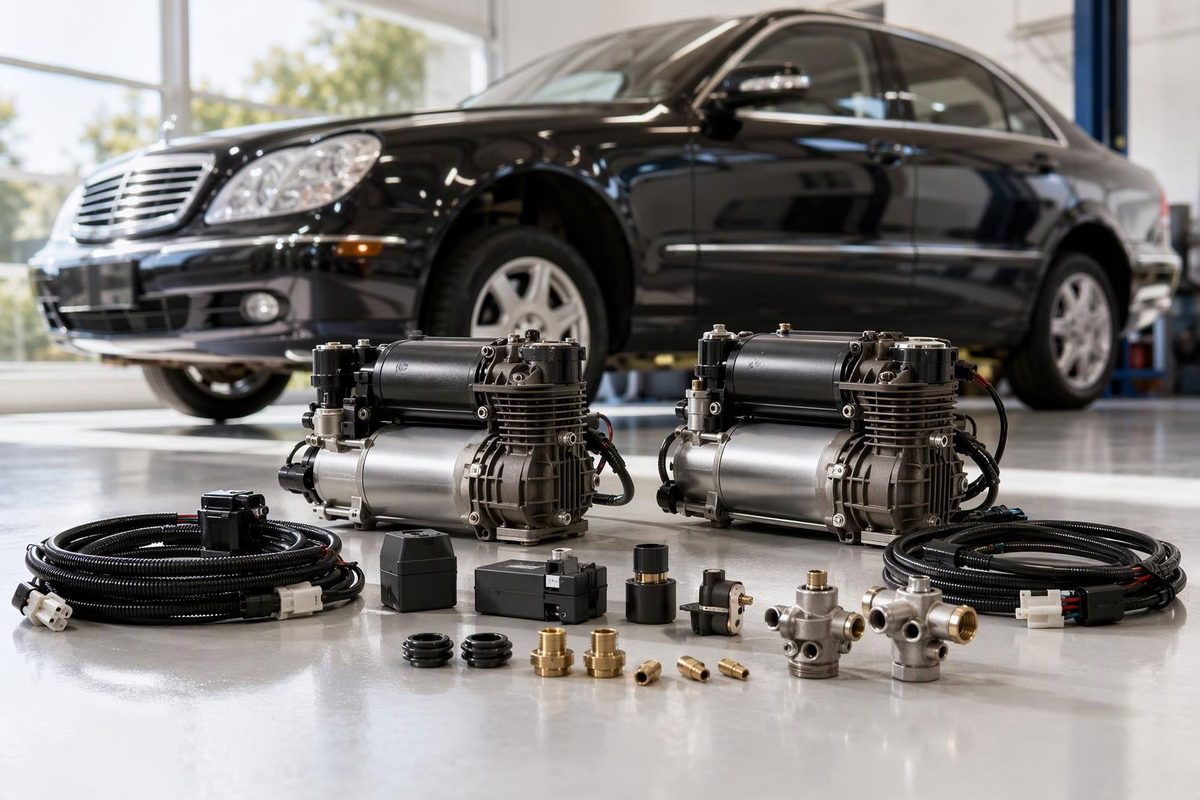
For a W220 with a confirmed failed AIRMATIC compressor, the replacement job involves more than buying a pump: verify suspension fitment, check what the assembly includes, replace the compressor relay, and repair any leak that caused excessive running.
This guide covers the W220 S-Class fitted with AIRMATIC, not hydraulic Active Body Control. Mercedes’ compressor removal procedure explicitly excludes cars with option code 487—ABC. Check the data card and the equipment actually fitted before ordering; the S-Class badge alone is not a parts specification. (Mercedes workshop procedure, archived copy)
What the compressor assembly contains
The W220 compressor, designated A9/1, sits behind the front bumper near the right-front wheel, with access through the lower engine-compartment paneling. Right means the vehicle’s right side, not necessarily the passenger side.
The original assembly contains the electric motor, compressor, air dryer and pressure-reduction valve. Its intake filter is external and connected by a hose. The valve block is a separate component, even though it shares the mounting area. A listing for a “complete compressor” therefore does not necessarily include the valve block or intake filter. (W220 component description)
If the compressor has not yet been condemned by testing, stop here and use the W220 AIRMATIC diagnosis guide. A low car, a silent pump or a slowly rising suspension is not enough evidence to order one.
Match the part and the kit contents
Ask the supplier to confirm compatibility against the VIN, suspension equipment and existing Mercedes part number. Use cross-reference numbers as a check, not as proof that every listed Mercedes application is interchangeable.
Two documented replacement examples illustrate why the exact product number matters:
| Catalog detail | Arnott P-2192 | Arnott P-3296 |
|---|---|---|
| Product type | New WABCO OE unit supplied through Arnott | New Arnott aftermarket compressor |
| Dryer included | Yes | Yes |
| Mounting bracket included | Yes | Yes |
| Mounting hardware included | Yes | No |
| Relay included | Yes | Yes |
| Valve block included | No | No |
These are Arnott’s catalog entries checked on November 4, 2026, not a guarantee of a seller’s box contents. Both entries list 2000–2006 S430/S500 and 2006 S350 applications, and reference Mercedes numbers including 2203200104, 2113200104, 2113200304, 211320030480 and 2193200004. Neither list should be treated as blanket coverage for every W220 market or engine variant. (P-2192 catalog, P-3296 catalog)
Before buying, establish whether you must reuse any nuts, mounting pieces, intake hose or filter. Compare the supplied instructions with the existing air-line connection, and inspect reusable parts before dismantling the car.
Replace the relay—and address the overload
Mercedes’ W220 procedure says the compressor relay K40/7kO should always be exchanged when replacing the compressor, because its switching contacts may already be damaged. The relay is in the right-front engine-compartment fuse/relay area. Do not retain the old relay simply because the new pump starts. (Mercedes workshop procedure, W220 relay location)
An unresolved air-spring leak can overwork and overheat the replacement compressor. Arnott’s P-3296 instructions warn about this and require cracked air springs to be changed to validate the compressor warranty. Repair the identified leak as part of the job, rather than using the new pump to keep a leaking car inflated. (Arnott installation manual)
Replacement sequence and stop points
This is a planning sequence, not a substitute for the VIN-specific Mercedes procedure and the instructions supplied with the replacement.
Stop before opening a pressure connection unless you can safely relieve pressure and isolate electrical power. Support the vehicle at the specified lifting points; never work beneath a car supported only by its air suspension or a jack. Arnott calls for qualified personnel, manufacturer diagnostic software and isolation of stored energy. (Installation safety instructions)
Once those preparations are complete:
- Remove the right-front lower paneling. Identify the pressure line, intake hose, motor connector and pressure-reduction-valve connector.
- Disconnect the lines and both electrical connectors. Keep dirt out of the opened pressure line; Mercedes specifies plugging it during the repair.
- Remove the three mounting nuts and the compressor assembly. Inspect the mounting area and reusable intake components before installing the replacement.
- Follow the new compressor’s fitting instructions. For P-2192 and P-3296, Arnott says to remove and discard the old fitting from the vehicle’s air line. Leave the new fitting installed in the compressor, remove its white shipping pin, and push the line fully home. The P-3296 manual requires replacement of a scratched or deeply cut line. Do not transfer these instructions to a different fitting design.
- Install the assembly and new relay. Route hoses and wiring without strain and use the applicable Mercedes tightening specifications—not a guessed torque.
The sequence draws on the Mercedes procedure and Arnott’s P-2192 and P-3296 manuals; use the Arnott manuals for those products’ replacement-fitting requirements.
Verify before calling the job complete
Restore power and follow the diagnostic procedure for filling and checking operation. Mercedes specifies an AIRMATIC leak check after compressor installation. Check every disturbed joint, confirm that the car reaches commanded height, and repeat the parked-height check described in the diagnosis guide. If the car still sinks or the new compressor runs excessively, stop cycling it and investigate the remaining fault.