
Diagnose W220 Airmatic Before Replacing the Compressor or Struts
Diagnose a low or uneven W220 Airmatic system through height, module data, leak checks, compressor tests and pneumatic isolation.
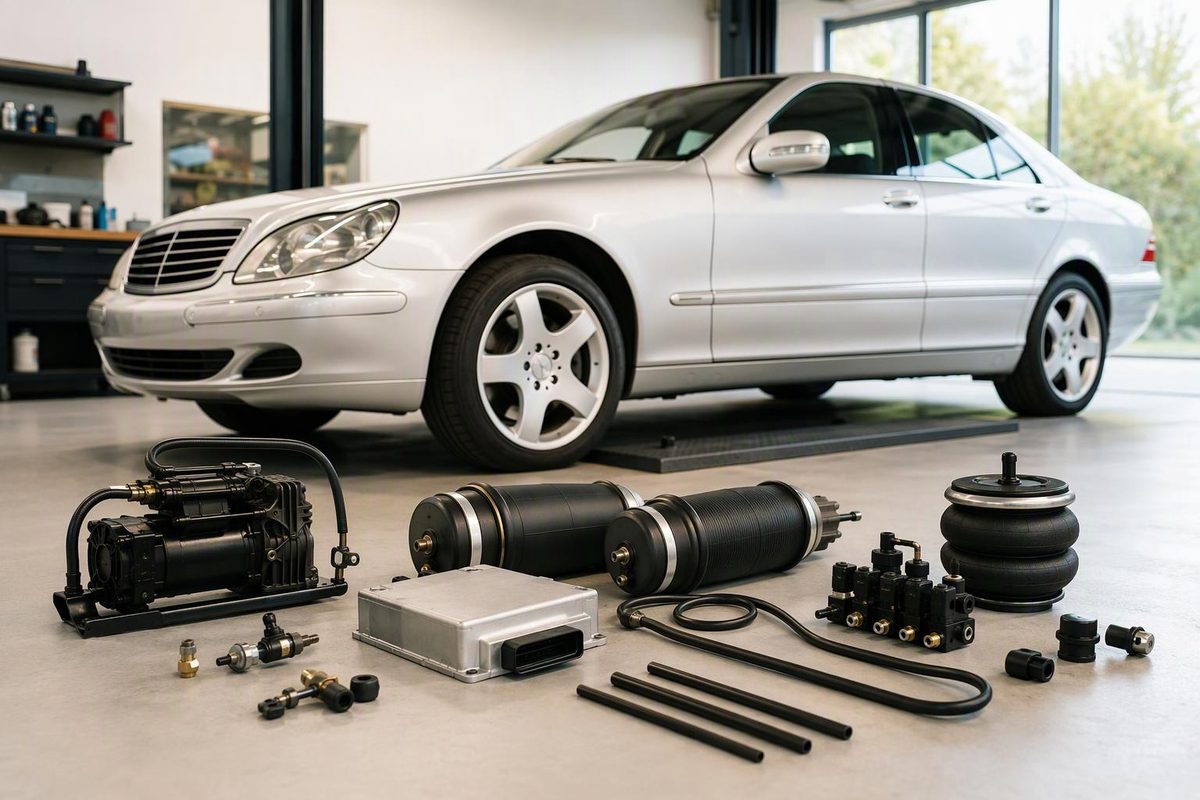
The W220 S-Class uses Airmatic to combine four-wheel air suspension, automatic level control and electronically adjustable damping. Mercedes described Airmatic as standard when the W220 launched, but some cars have hydraulic Active Body Control (ABC) instead. Before ordering parts, identify the suspension fitted to the specific VIN: option code 487 denotes ABC, and the 2004 US manual treats Airmatic and ABC as separate systems with different controls and warnings (Mercedes-Benz Public Archive, 2004 S-Class operator’s manual).
This sequence applies only to an Airmatic-equipped W220. Confirm the system by data card and physical inspection before continuing; do not apply it to a car with ABC.
Stop first if the car is too low
Treat AIRMATIC STOP, CAR TOO LOW! literally. The 2004 manual says to stop, select the raised level, avoid turning the steering wheel far enough to damage the front fenders, listen for scraping and not exceed 50 mph (80 km/h) while seeking service (2004 S-Class operator’s manual).
That speed is a ceiling in the manual, not assurance that the car is safe to drive. If a tire contacts the body, steering clearance is restricted, the car will not rise or scraping is present, arrange a flatbed rather than continuing.
Never put any part of the body beneath a vehicle supported only by its air suspension. Mercedes warns occupants to keep clear of the wheel housings and underside while the chassis is lowering. Use correctly rated lifting equipment and stands at the specified support points. Depressurize a strut, valve unit or reservoir with the appropriate diagnostic procedure before removal; do not use a loosened air-line fitting as a discharge valve (2004 S-Class operator’s manual, W220 Airmatic technical reference).
Match the symptom before testing parts
| Observation | Leading possibilities | What it does not prove |
|---|---|---|
| One corner drops while parked | Air spring or top seal, fitting, line, or that circuit in the valve block | That the strut itself is bad |
| Both corners on an axle drop | Multiple local leaks, valve-block leakage or another shared issue | That both struts failed together |
| All four corners are low and the compressor is silent | Compressor power supply, relay, wiring, control inhibition, pressure input or compressor failure | That a new compressor will restore operation |
| Compressor runs often or the car rises slowly | Pneumatic leak or weak compressor output | Which component is faulty |
| Vehicle sits too high or uneven | Level-sensor linkage or signal, calibration, crossed air lines or valve fault | That more air is needed |
| Warning appears with a very firm ride | ADS electrical or damping-valve fault; failed ADS can select its hardest setting | An air leak by itself |
A suspension noise without a height change may be mechanical rather than pneumatic. Use the movement-based checks in W220 suspension squeak diagnosis instead of replacing air parts from the sound alone.
Diagnose it in this order
1. Record the parked-height pattern
Park on level ground at normal ride height. Measure from the center of each wheel to a repeatable point on its wheel arch. Record all four measurements, the time, ambient temperature and whether the car had just been driven. Do not disturb the vehicle during the test.
A detailed W220 technical reference reporting Mercedes DAS specifications uses a 10-hour test and states that the drop should remain below 20 mm, or 30 mm in very cold conditions. The pattern matters as well as the amount: one falling corner directs testing toward its strut, fitting, line and valve-block passage, while similar movement at several corners calls for wider isolation (W220 Airmatic technical reference).
Stop point: A falling corner identifies a circuit, not a failed strut. Do not order the strut until its fitting, line and valve-block passage have been separated diagnostically.
2. Scan the Airmatic/ADS module
Use Mercedes STAR/DAS or a bidirectional scanner that can communicate with the W220 Airmatic/ADS control module. A basic emissions-code reader is not enough. Save the fault codes before clearing anything, then compare:
- specified and actual level values;
- all three level-sensor signals;
- reservoir or system pressure;
- compressor command and actual operation;
- valve and pressure-release actuation results;
- supply voltage and electrical faults.
The W220 has two front level sensors and one rear-axle sensor. Inspect their linkage rods, brackets, connectors and wiring before condemning a sensor. A false height input can make the module raise or lower a sound pneumatic system; trade diagnostic guidance also recommends checking the linkages first when level-sensor codes are present (W220 Airmatic technical reference, Tomorrow’s Technician).
3. Check accessible leak points
With the vehicle safely supported and the system pressurized, apply suitable leak-detection solution to accessible pneumatic joints—not electrical connectors. Watch for slowly forming bubbles at:
- the top fitting and seal area of each front strut;
- the compressor-to-valve-block pressure line;
- the valve-block line connections;
- accessible line unions and damaged line sections.
The front-strut top area is a recognized W220 leak location, especially on earlier designs. Much of the air spring is concealed, however, so no bubbles at the visible top does not clear the complete strut (Tomorrow’s Technician).
Do not contaminate open lines. Clean around a fitting before disconnecting it, mark every line by port and cap open lines immediately. Incorrect valve-block routing can produce implausible height behavior that resembles a control fault.
4. Separate compressor power from compressor output
If the compressor is silent, first determine whether the module is commanding it. Then consult the vehicle’s fuse chart and test the compressor fuse, relay, connector, ground and power feed. A W220 technical reference identifies relay position O and 40-amp fuse 32 in the right-front fuse/relay box, but verify the assignment for the car’s year and market before working on the circuit (W220 Airmatic technical reference).
A blown fuse is a result, not a diagnosis. A seized or high-current compressor, stuck relay, damaged wiring or prolonged operation against a leak can cause another failure. After restoring the circuit, evaluate compressor current: a brief starting-current surge is normal, but current that remains high can indicate mechanical pump trouble and threaten the replacement fuse or relay (Tomorrow’s Technician).
If command and power are present, run the guided compressor pressure test. Slow vehicle rise alone cannot distinguish weak output from a substantial downstream leak.
5. Use pneumatic isolation tests
STAR/DAS provides separate tests for the compressor, four strut paths, pressure-release valve, compressor-to-valve-block line and reservoir circuit. These tests command the relevant valves while monitoring pressure, which helps separate look-alike failures (W220 Airmatic technical reference):
- Pressure builds too slowly with downstream circuits isolated: suspect weak compressor output or an intake/drier restriction.
- Pressure builds but falls during the supply-line test: inspect the compressor-to-block line and valve block.
- One strut circuit loses pressure: isolate the strut from its line and valve passage before replacement.
- The reservoir circuit loses pressure: check its line and connections before condemning the reservoir.
- Pressure is correct but height response is implausible: return to level-sensor data, linkage, calibration, valve actuation and line routing.
The technical reference also cautions that a small damaged connector O-ring can pass a guided pneumatic test. Treat a passing test as evidence, not a guarantee that every joint is sealed.
Verify the repair
After replacing or reconnecting a component, clear the relevant stored faults and perform any required ride-height calibration using the specified measuring method. Repeat the same parked-height test. Confirm that the vehicle reaches normal and raised levels, lowers normally, does not keep cycling the compressor and has no leak bubbles at disturbed joints.
Replacing a tired compressor without repairing the leak that overworked it invites another failure. Replacing a strut without proving that the strut—not its line or valve-block circuit—loses pressure risks an expensive no-fix.