
Mercedes-Benz W220 AIRMATIC: Diagnose the Drop Before Replacing Parts
Diagnose a low or uneven W220 AIRMATIC suspension by symptom, scan data, compressor supply and leak location before ordering parts.
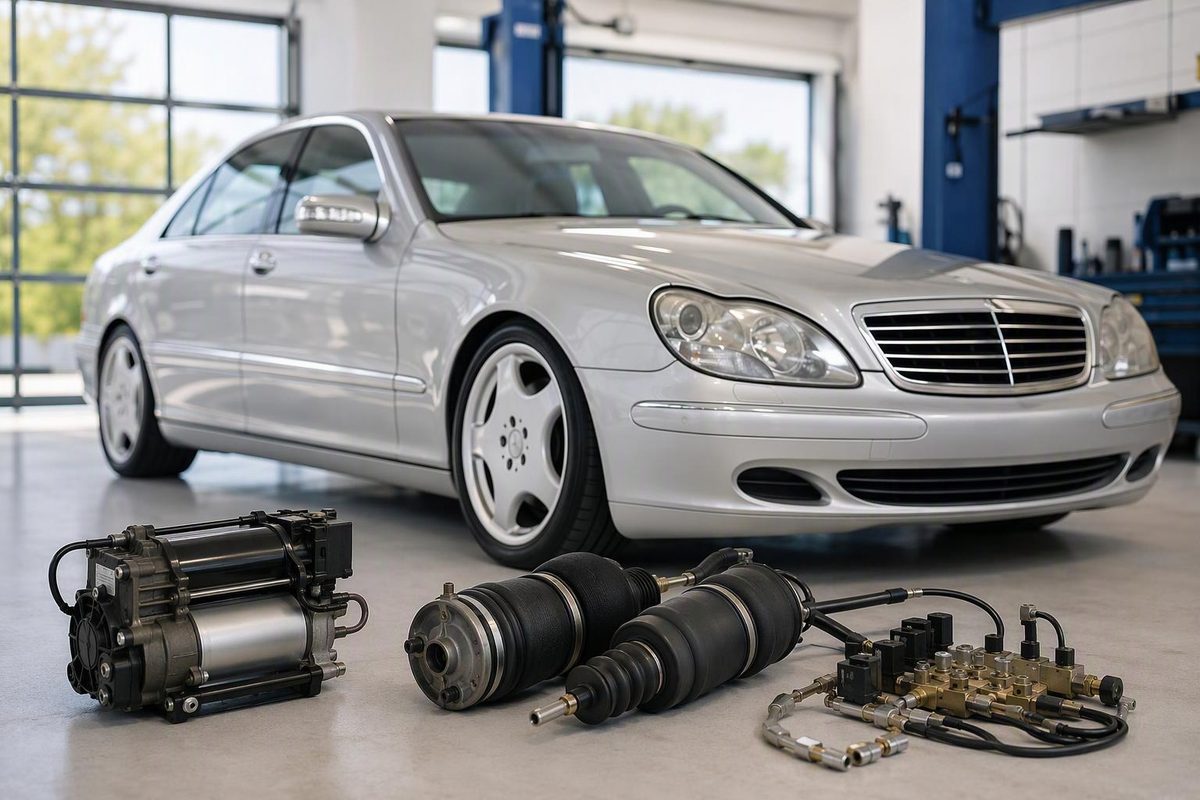
A low Mercedes-Benz W220 does not automatically need a compressor—or even an air strut. A leaking strut, damaged air line, valve block, weak compressor, failed relay, level-sensor linkage or electrical fault can produce overlapping symptoms.
First confirm what is fitted. The W220 was sold with AIRMATIC or the separate hydraulic Active Body Control system. Option code 487 identifies ABC; the 2002 US operator’s manual also describes ABC as standard on that year’s S600. Do not order AIRMATIC parts from the badge alone. Check the data card and inspect the vehicle’s actual equipment (2002 S-Class operator’s manual).
What AIRMATIC controls
W220 AIRMATIC combines four air-spring/damper assemblies with a compressor, pressure reservoir, valve block, three ride-height sensors and electronically controlled damping. The valve block directs compressed air to individual corners, while the control module uses two front level sensors and one rear-axle sensor to determine height. The compressor is not intended to run continuously; its operating and cooling periods are monitored to limit overheating (W220 AIRMATIC system description).
The center-console level switch raises the car about 20 mm for rough roads. In normal mode, the 2002 US manual says the car lowers approximately 15 mm above 70 mph and returns to normal below about 35 mph. Those normal height changes should not be mistaken for leakage (operator’s manual, level-control section).
Stop if the car is critically low
Treat “AIRMATIC STOP, CAR TOO LOW!” literally. Stop somewhere safe and check tire-to-body clearance. Do not drive if a tire can contact the wheel housing, steering movement is restricted or the body is resting near the suspension. Arrange flatbed recovery rather than repeatedly restarting the car to force it upward.
Repeated compressor cycling is not a repair. A substantial leak can overwork an otherwise usable compressor until it also fails. The system documentation explains that the critical-height warning is triggered by a large departure from normal ride height, while an electrical or adaptive-damping fault can instead produce “AIRMATIC VISIT WORKSHOP!” and leave the dampers in their firm fail-safe setting (W220 warning behavior).
Match the symptom before testing parts
| Observation | First areas to test | What it does not prove |
|---|---|---|
| One corner sinks while parked | That strut, its fitting and line, then the corresponding valve-block circuit | That the strut itself leaks |
| Both ends or the whole car stay low | Compressor output, power supply, common pressure line, valve block and major leaks | That the compressor is defective |
| Car rises, but slowly returns to the ground | Pneumatic leak and compressor recovery performance | That a reset is needed |
| Height is wrong but no critical-low warning appears | Level-sensor linkage and live sensor values | That the air spring is sound |
| Warning appears while height remains normal; ride becomes very firm | Stored AIRMATIC/ADS faults, strut electrical connectors and damping circuits | That the pneumatic system is leaking |
| Knocking or squeaking without a height change | Mechanical joints, mounts and bushings | That AIRMATIC pressure is at fault |
For noise without a ride-height fault, use the separate W220 suspension-squeak diagnosis rather than spraying lubricant or replacing air parts by association.
A practical diagnostic sequence
1. Record the parked height
Park on level ground, select the normal suspension level and measure vertically from each wheel center to the wheel-arch edge. Record all four readings and repeat them after the car has remained undisturbed overnight.
Wheel-center measurements avoid tire-pressure and sidewall-height errors. Opening a door, the trunk or operating the remote can wake the system and cause a height correction, so take the second readings before repeatedly unlocking or loading the car. A corner that consistently loses more height than the others identifies a circuit to investigate; it does not yet distinguish the strut from its line or valve (W220 parked-height and wake-up behavior).
2. Inspect without working beneath an air-supported car
Look for a separated ride-height-sensor link, damaged wiring at each damper, cracked air lines, disturbed fittings and obvious damage around the struts. Never place any part of the body beneath the car unless its body is securely supported on correctly positioned stands. Air suspension can change height without warning.
3. Scan the AIRMATIC/ADS control module
Use Mercedes STAR Diagnosis/Xentry or a capable aftermarket scanner that can communicate with the W220 suspension module—not merely a generic engine-code reader. Preserve the codes before clearing anything, then review:
- all three ride-height-sensor values;
- system or reservoir pressure;
- compressor command and recovery time;
- valve and damper electrical faults;
- whether commanded filling or venting produces the expected height change.
A code identifies the circuit or failed plausibility check, not necessarily the replaceable part. For example, a commanded corner that does not rise could involve a leak, blocked or crossed line, valve fault, bad height signal or inadequate supply pressure.
4. Test compressor power before condemning the pump
On the commonly documented W220 layout, the compressor relay is in position O and its supply is protected by 40-amp fuse 32 in the right-front fuse/relay box. Confirm both assignments against the car’s own fuse chart because production date and market matter (W220 compressor electrical layout).
With a scan tool commanding the compressor, test voltage and ground at the compressor under load. Results branch cleanly:
- Correct voltage and ground, but no operation: suspect the compressor.
- Low voltage: perform voltage-drop tests on the supply, relay contacts and ground.
- No voltage: diagnose the fuse, relay, wiring and module command.
- Compressor runs but pressure rises too slowly: test for leakage and restricted flow before calling the compressor weak.
If a replacement fuse blows or the relay overheats, diagnose compressor current draw, relay control, wiring and any leak causing excessive run time before fitting another fuse or relay.
5. Locate and isolate the leak
Apply an air-system leak-detection solution to accessible fittings, the valve block, air lines and suspected strut areas while they are pressurized. Watch for slowly growing bubbles; do not rely only on an audible hiss. Position-dependent bladder leaks may appear only at certain ride heights.
If an entire circuit loses pressure, scan-tool pneumatic tests can isolate the compressor-to-valve-block line, reservoir, valve block and individual corner circuits. W220 documentation specifically cautions that a leaking line or valve block can imitate a failed strut, so verify the leak before buying the most visible component (W220 pneumatic testing guidance).
Repair the cause, then verify the system
Depressurize the affected circuit with the proper diagnostic routine before loosening a pressure connection. Keep opened lines and ports clean, use seals specified for the exact fitting, and leak-test every disturbed joint after assembly. A new compressor should not be installed into a system with an unresolved leak; replace its relay when the compressor supplier or Mercedes procedure calls for it.
Finally, clear faults, calibrate ride height if the repair or scan procedure requires it, cycle normal and raised levels, and repeat the parked-height test. The repair is complete only when the car reaches commanded height, holds it and no longer overworks the compressor.