
W220 AIRMATIC Calibration: Measure, Save and Verify Ride Height
Calibrate W220 AIRMATIC with measured suspension angles and STAR/DAS. Know when to stop for leaks, sensor faults or rejected settings.
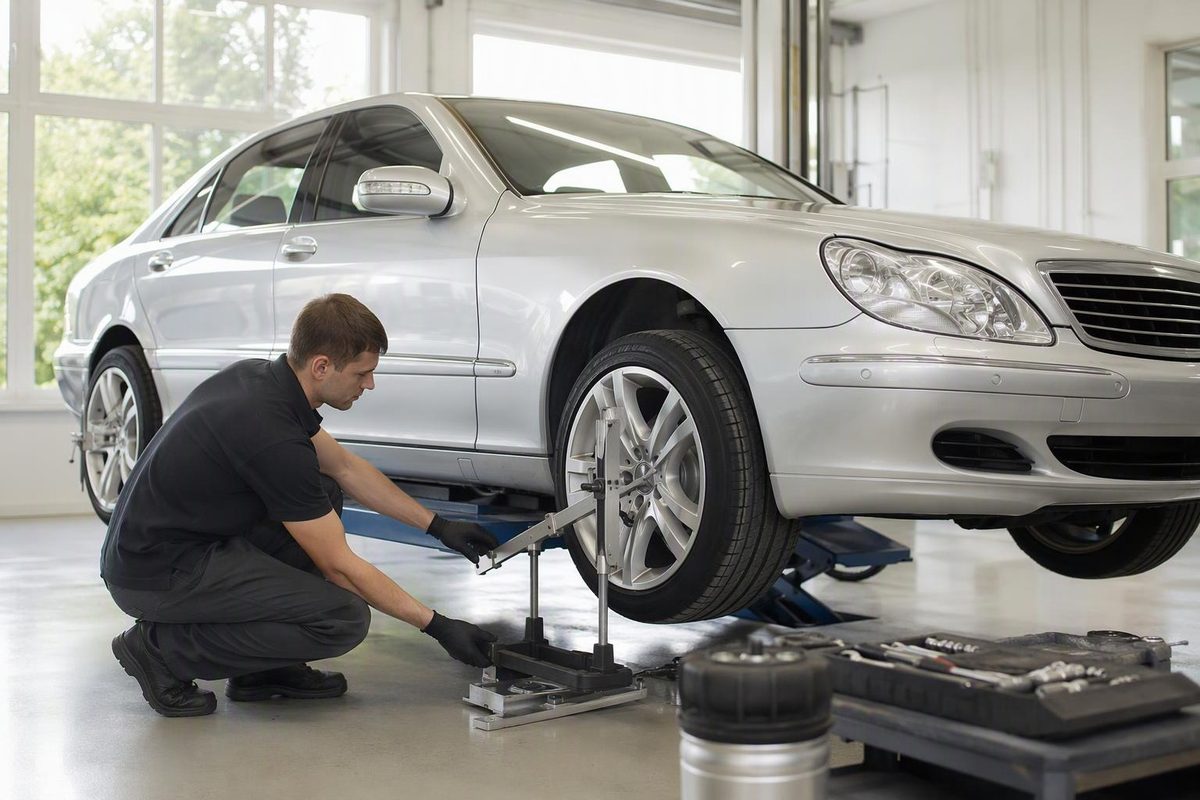
W220 AIRMATIC calibration requires measured suspension angles and a diagnostic tool that can store the level adaptation—not simply raise or lower the car. Copying another owner’s angle values can produce an accepted setting without establishing that your car’s ride height is correct.
This guide applies to Mercedes-Benz W220 S-Class vehicles fitted with AIRMATIC. Confirm the model year, VIN and rear-wheel-drive or 4MATIC configuration before selecting the procedure. It does not cover hydraulic Active Body Control: option code 487 identifies ABC, which uses a different system. The level-check procedure discussed here also excludes special-protection vehicles with codes 979 or Z07. W220 system reference · Mercedes level-check procedure, shared PDF
Decide whether calibration is the right job
Calibration is appropriate after replacing a level sensor, and when a properly checked vehicle level falls outside the applicable tolerance. The W220 service reference calls for calibration after front or rear level-sensor replacement; Mercedes procedure AR40.20-P-0301I directs technicians to use STAR Diagnosis when measured level is outside the test tolerance. Sensor replacement guidance · Mercedes level-check procedure
Do not start by recalibrating a car that sinks while parked, cannot rise reliably, or has implausible sensor readings. Leaking struts, inadequate compressor output and faulty sensor linkages can all produce incorrect height. Calibration does not repair those faults. Start with W220 AIRMATIC fault diagnosis if the suspension is not functioning consistently. Technical diagnostic reference
Before changing settings:
- Save the AIRMATIC fault codes and current level-sensor readings.
- Inspect the sensor brackets, rods and attachment points for damage, looseness or incorrect installation.
- Confirm the system can raise and lower the vehicle without an unresolved pressure-supply fault.
Stop if a sensor signal is implausible or a linkage is damaged. Mercedes specifically lists deformed sensor attachments and incorrect, loose or bent link rods as causes of incorrect level after calibration. It also says not to adjust vehicle level using the sensor control rod. Mercedes level-check procedure
Equipment and measurement setup
You need STAR Diagnosis/DAS with W220 level-calibration capability, or another tool whose coverage explicitly includes that function for your car. Access to fault codes or valve actuation alone is not enough.
The factory measurement method uses an electronic inclinometer. The Romess CM 09606 measures suspension geometry at the front links and rear axle shafts; its manufacturer specifies angle accuracy of ±0.1°. A phone placed on a fender is not measuring those reference points. Romess instrument documentation
Arrange safe access with the wheels supporting the vehicle, such as a level drive-on alignment rack or suitable inspection pit. Do not take calibration measurements with the suspension hanging free. Before starting, obtain the vehicle-specific measurement instructions, including the preconditions referenced in AR40.00-P-0202A, and follow the DAS prompts for loading and operating state. If you cannot establish those conditions or identify the exact measuring points, stop rather than substitute a fender-height measurement. Mercedes measurement instructions
Keep everyone clear while actuating the suspension. Never work underneath a vehicle supported only by its air suspension or a jack.
Measure and store the calibration
1. Select the correct W220 function
In DAS, the documented W220 route reaches AIRmatic → Control unit adaptations → Level calibration through the chassis-level-adjustment functions. Menu wording can differ by software version; use the routine for the identified vehicle, not a W211 tutorial selected by resemblance. W220 DAS menu reference
2. Adjust within the guided routine
Use the routine’s level-valve controls while watching the displayed sensor readings and permitted ranges. If the vehicle will not respond correctly, stop and diagnose it rather than repeatedly commanding the compressor.
Raising or lowering the car under a standalone Actuations menu is not the same as completing and saving level calibration. In a BenzWorld discussion, an owner reported that actuation-only adjustments reverted; subsequent replies identified the W220 control-unit-adaptation route. That is community experience, not a substitute for the guided procedure. Owner discussion
3. Measure all four specified positions
Mercedes AR40.20-P-0301I specifies:
| Position | Measurement reference |
|---|---|
| Front, without 4MATIC | Spring link between the cast-in humps |
| Front, with 4MATIC | Transverse-control-arm position shown in the procedure’s diagram |
| Rear, either configuration | Rear axle shaft on each side |
Clean the measuring points. With the specified instrument, the sensor cable must point toward the vehicle center; reversing its orientation makes the measurement incorrect. Record left-front, right-front, left-rear and right-rear angles. Mercedes measurement instructions
4. Enter measured angles and complete the save
Enter the actual readings, including their signs, when DAS requests the inclinometer values. Do not enter nominal specification values or someone else’s measurements as though they came from your car. Mercedes lists different level specifications for W220 configurations, including 4MATIC; there is no universal set of four numbers.
The procedure also distinguishes checking from calibration: the maximum left-to-right angle difference is 1° when checking, but 0.5° when calibrating, at each axle. Meeting the looser checking tolerance is not enough for calibration. Use the applicable vehicle-level specifications as well as this side-to-side limit. Mercedes specifications
Complete the routine and confirm acceptance. If it rejects the calibration, do not invent values to force acceptance. Recheck measurement orientation, vehicle selection, sensor installation and the permitted sensor ranges. DAS calibration reference
Verify before calling it finished
Exit the routine, allow normal level control to resume, and remeasure under the same conditions. Confirm that the level remains within the applicable specification and that relevant faults have not returned. A save confirmation proves the data was accepted—not that a leak or mechanical error has disappeared.
Mercedes also directs technicians to check and correct headlamp adjustment after vehicle-level calibration. If the car still leans, return to the sensor attachments and linkages before attempting another adaptation. Mercedes post-calibration checks